Multiplayer prototype (semi-technical article)
Note: This article was written on 2025-01-04, as a summary of the events happening on Discord back during this development log
After a bit of a hiatus, I'm back with a weekend prototype: a simple multiplayer mode for Project Mirabelle! This is a very, very hacky prototype still, and it's not going to be in production any time soon. It was still a good small project, and a cool way to show capabilities for multiplayer content!
First, on May 22nd, I showed off some work I've been doing that previous day. It was still a bit janky, and very hacky, but it was a good demo!
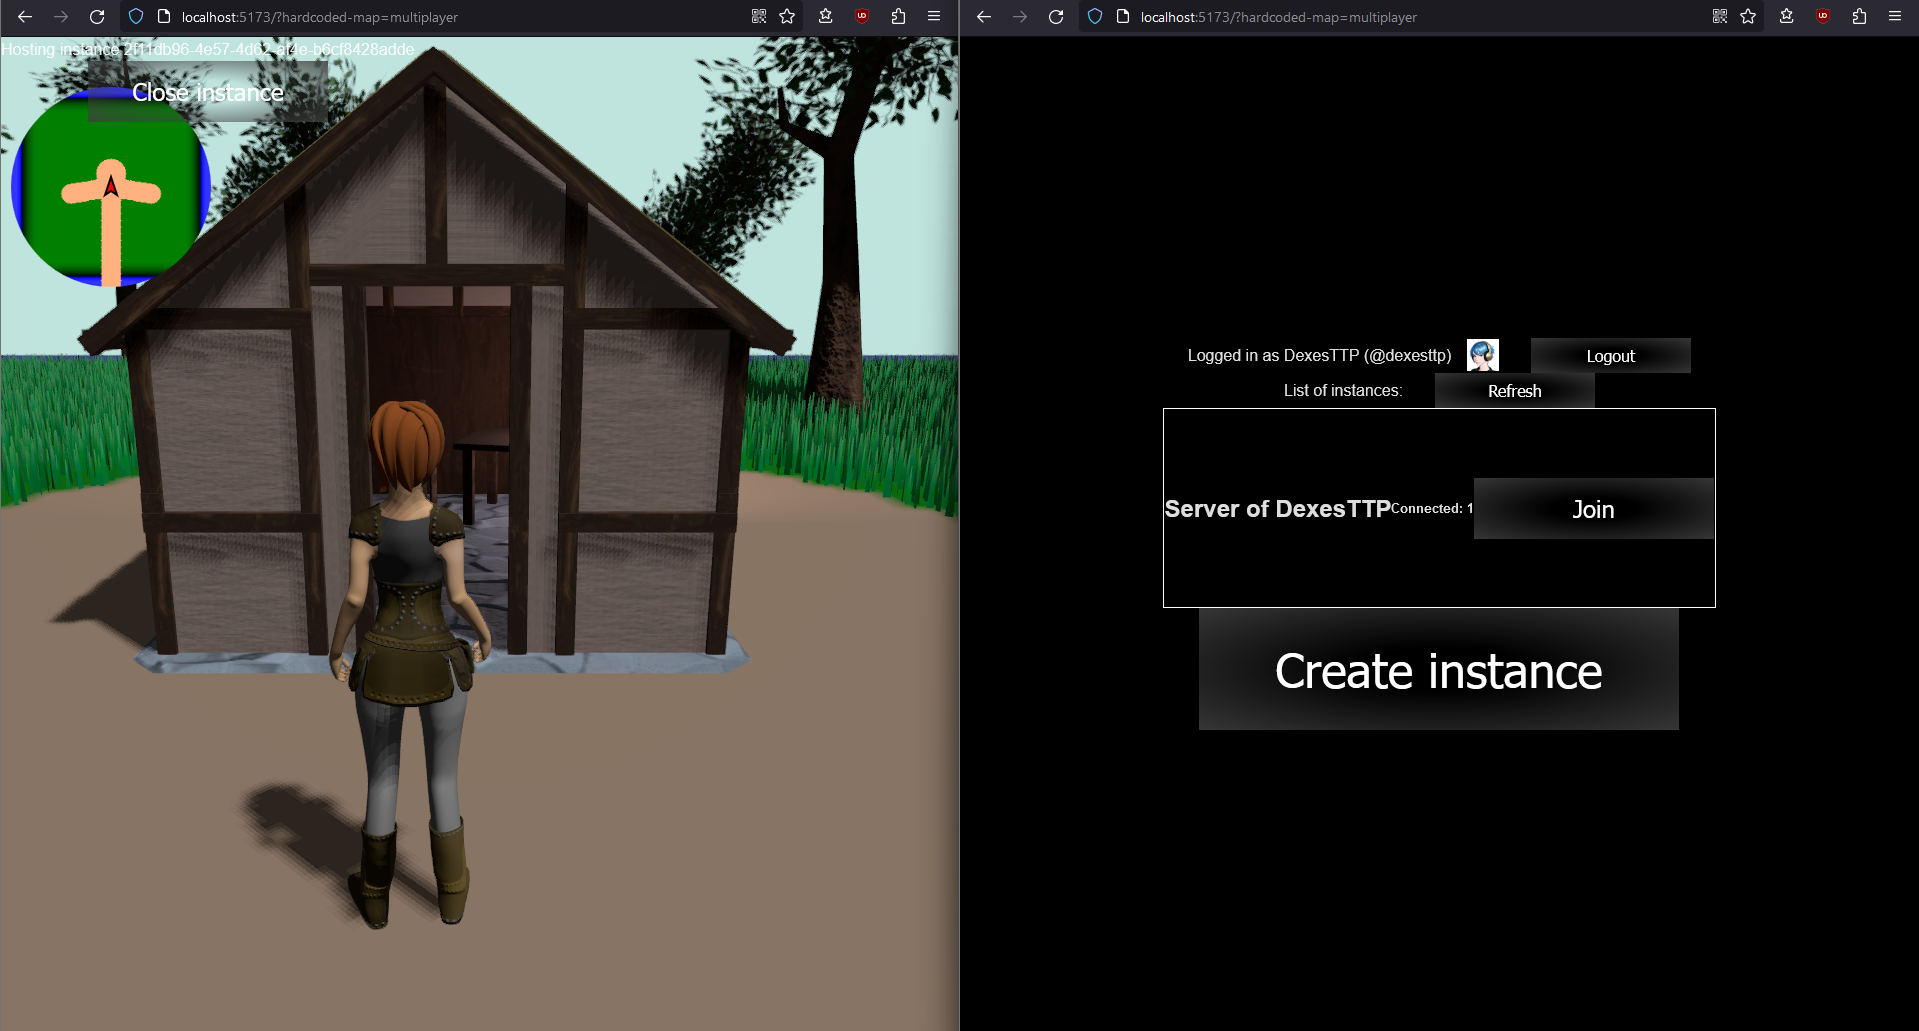
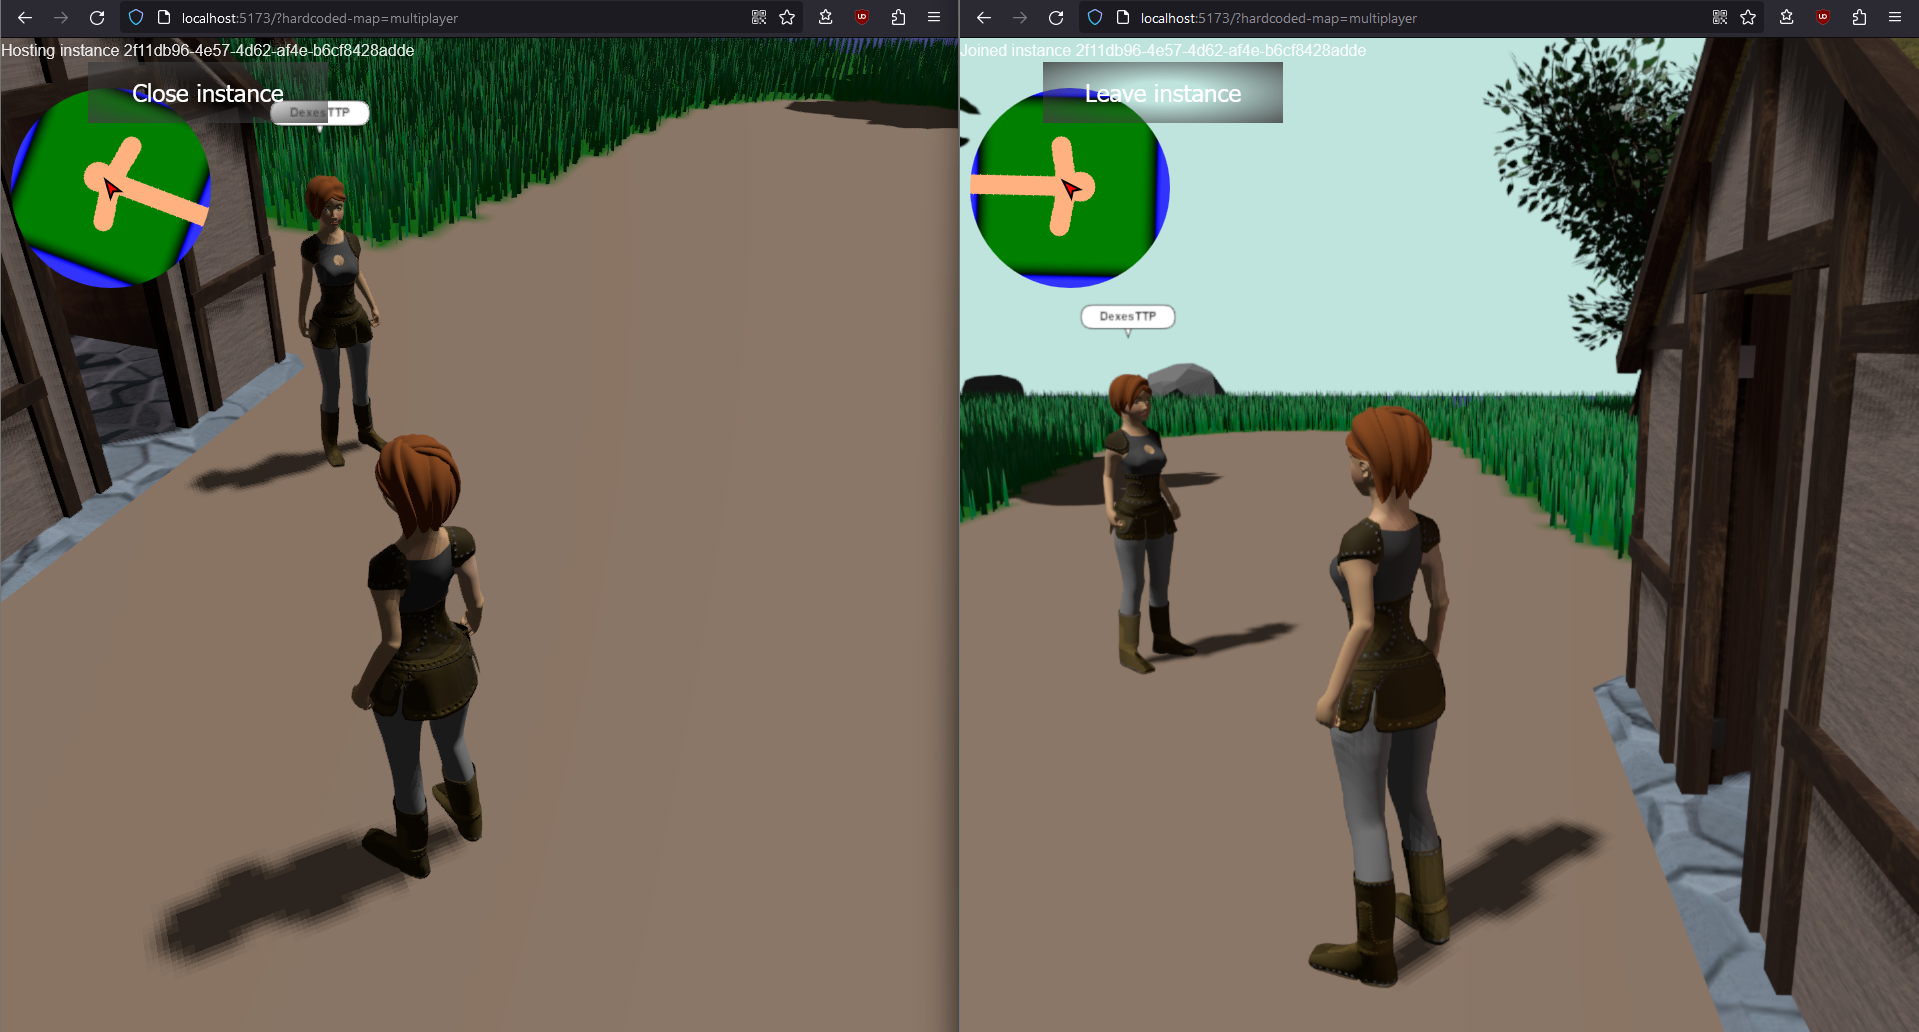
The multiplayer system works as a peer-to-server-to-peer system, where a host peer can "register" an instance on the server, after which other players can "connect" to that instance. The connected players will send commands to the server, who will relay them to the host. This way, the server itself doesn't have to expand (much) resources to maintain a game session! The inconvenient is that if the host disconnects, all of the other players will be disconnected as well.
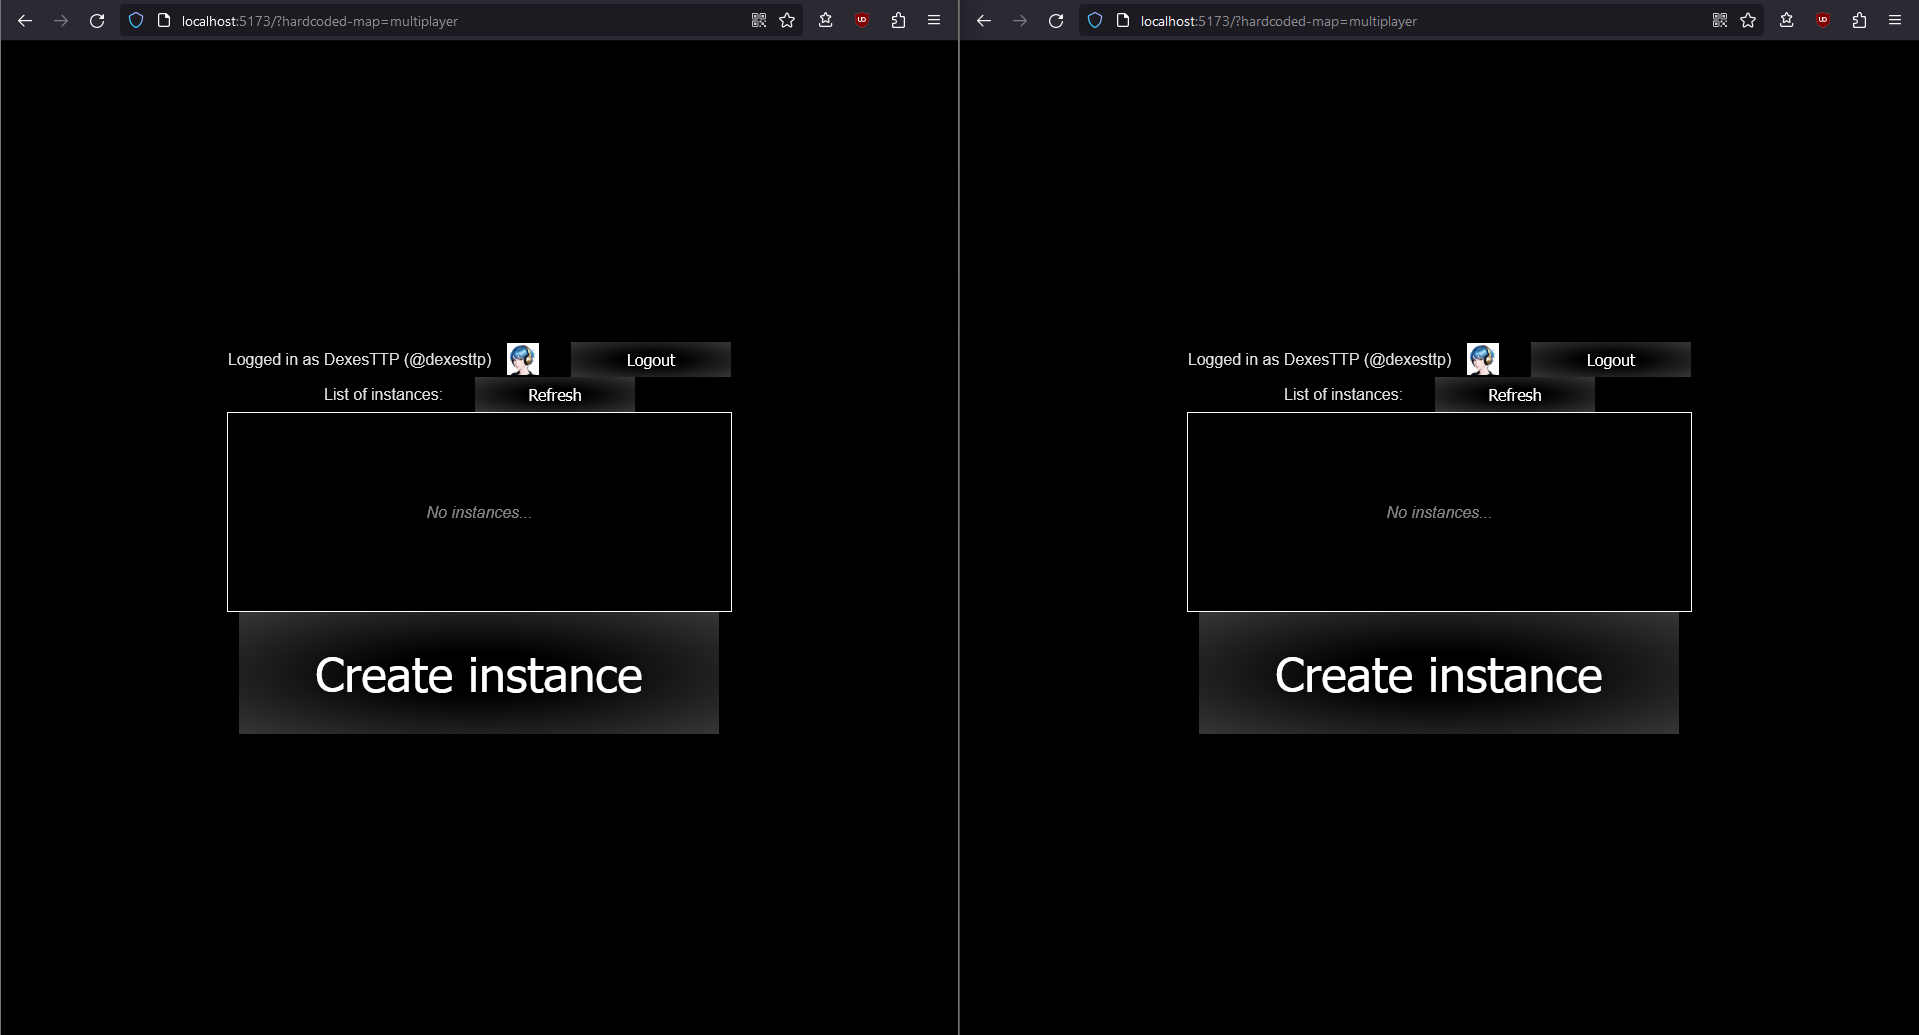
The connection also uses discord OAuth for player login, which was the easiest implementation I could think of (as I already implemented Discord oauth in the community DiD games list project). I didn't want to import a library just for oauth, and thankfully the implementation in pure JS is very, very simple. The basic idea is to implement the following two endpoints:
/project_mirabelle_server/
> login => oauth/callback
First, the login endpoint should just redirect the player to the Discord's oAuth login https://discord.com/api/oauth2/authorize URL, using the proper required query parameters (response_type=code, scope=identify, prompt=consent, state=123456, client_id as a configuration parameter that you get when creating your Discord app, and redirect_uri to the https://sleepy.place/project_mirabelle_server/oauth/callback URL). Note that you need to configure your Discord app to accept the redirect URI as-is too.
// Redirect to the Discord application login pag
const REDIRECT_URI =
  `https://sleepy.place` +
  `/project_mirabelle_server` +
  `/oauth/callback`;
const discordOAuthLoginURL =
  `https://discord.com/oauth2/authorize?` +
  `response_type=code&` +
  `client_id=${CLIENT_ID}&` +
  `scope=identify&` +
  `state=123456&` +
  `redirect_uri=${REDIRECT_URI}&` +
  `prompt=consent`;
response.writeHead(302, "Found", {
  Location: discordOAuthLoginURL
});
response.end();
Once that's done, you will get a request to /project_mirabelle_server/oauth/callback once the player logs in. The oauth/callback URL is by far doing the bulk of the work, but you only have to do it once.
First, when you start, you'll have to "confirm" your login with Discord. To do this, you'll have just received a query parameter called code. You need your server to make a request to https://discord.com/api/oauth2/token with a body in the application/x-www-form-urlencoded 'format' (which is just a query parameters in the body), and the parameters being client_id, client_secret, grant_type, and the code you just received.
// Get an access to the Discord AP
fetch("https://discord.com/api/oauth2/token", {
  method: "POST",
  headers: {
    "Content-Type":
      "application/x-www-form-urlencoded",
  },
  body: new URLSearchParams({
    client_id: CLIENT_ID,
    client_secret: CLIENT_SECRET,
    grant_type: "authorization_code",
    code: code,
    redirect_uri: REDIRECT_URI,
  }).toString(),
});
This is the most... Finnicky aspect of oauth integration, usually, as websites have quirks about the exact format of what's needed and what's not needed. For example, in the code above, I did add the redirect_uri query parameter again, but now I can't remember whether that's because it was required by Discord to work or if that's because another website required it and I just copy-pasted that in. Still, I'm leaving it there because it's a bit hard to debug oauth issues in case it becomes one down the line.
That API call will return you some JSON data, with a single thing you need in it: access_token, which is your access key the Discord API. Using this, you can ask things like the user's name (to show it in the game as a 'default' name):
// Get the user's login information from Discor
fetch("https://discord.com/api/users/@me", {
  method: "GET",
  headers: {
    Authorization: `Bearer ${d.access_token}`,
  },
});
This will give you what you need to show the user they're logged in! It's basically just the internal Discord ID d.id, the username d.username, display name d.global_name, and avatar URL d.avatar ; you can retrieve & save them in your own database like this:
// Store the user's login informatio
storage.users[d.id] = {
  username: d.username,
  global_name: d.global_name,
  chosen_name: d.global_name || d.username,
  avatar: d.avatar,
};
Once that's done, all you need to do is to set a cookie so you don't have to ask the user to relogin every time:
// Create a secure cookie for the user logi
const newCode = crypto.randomUUID();
storage.codes[newCode] = d.id;
response.writeHead(200, "OK", {
  "Set-Cookie":
    `${COOKIE_NAME}=${newCode}; ` +
    `SameSite=Strict; ` +
    `Secure; ` +
    `HttpOnly; ` +
    `Path=${WEBSITE_PATH}; ` +
    `Max-Age=2592000`
});
And you're done with oauth handling!
Then, next time you receive any request, you can just check whether the cookie is a known value in the table:
// Use the cookie to know who the user i
// (Simplified code with no null checks
const cookie = request.headers.cookie;
const cookiePair = cookie.split("; ")
  .find(c => c.startsWith(`${COOKIE_NAME}=`));
const cookieId = cookiePair
  .substring(`${COOKIE_NAME}=`.length);
const userId = storage.codes[cookieId];
const user = storage.users[userId];
And then you can know who the logged in user is!
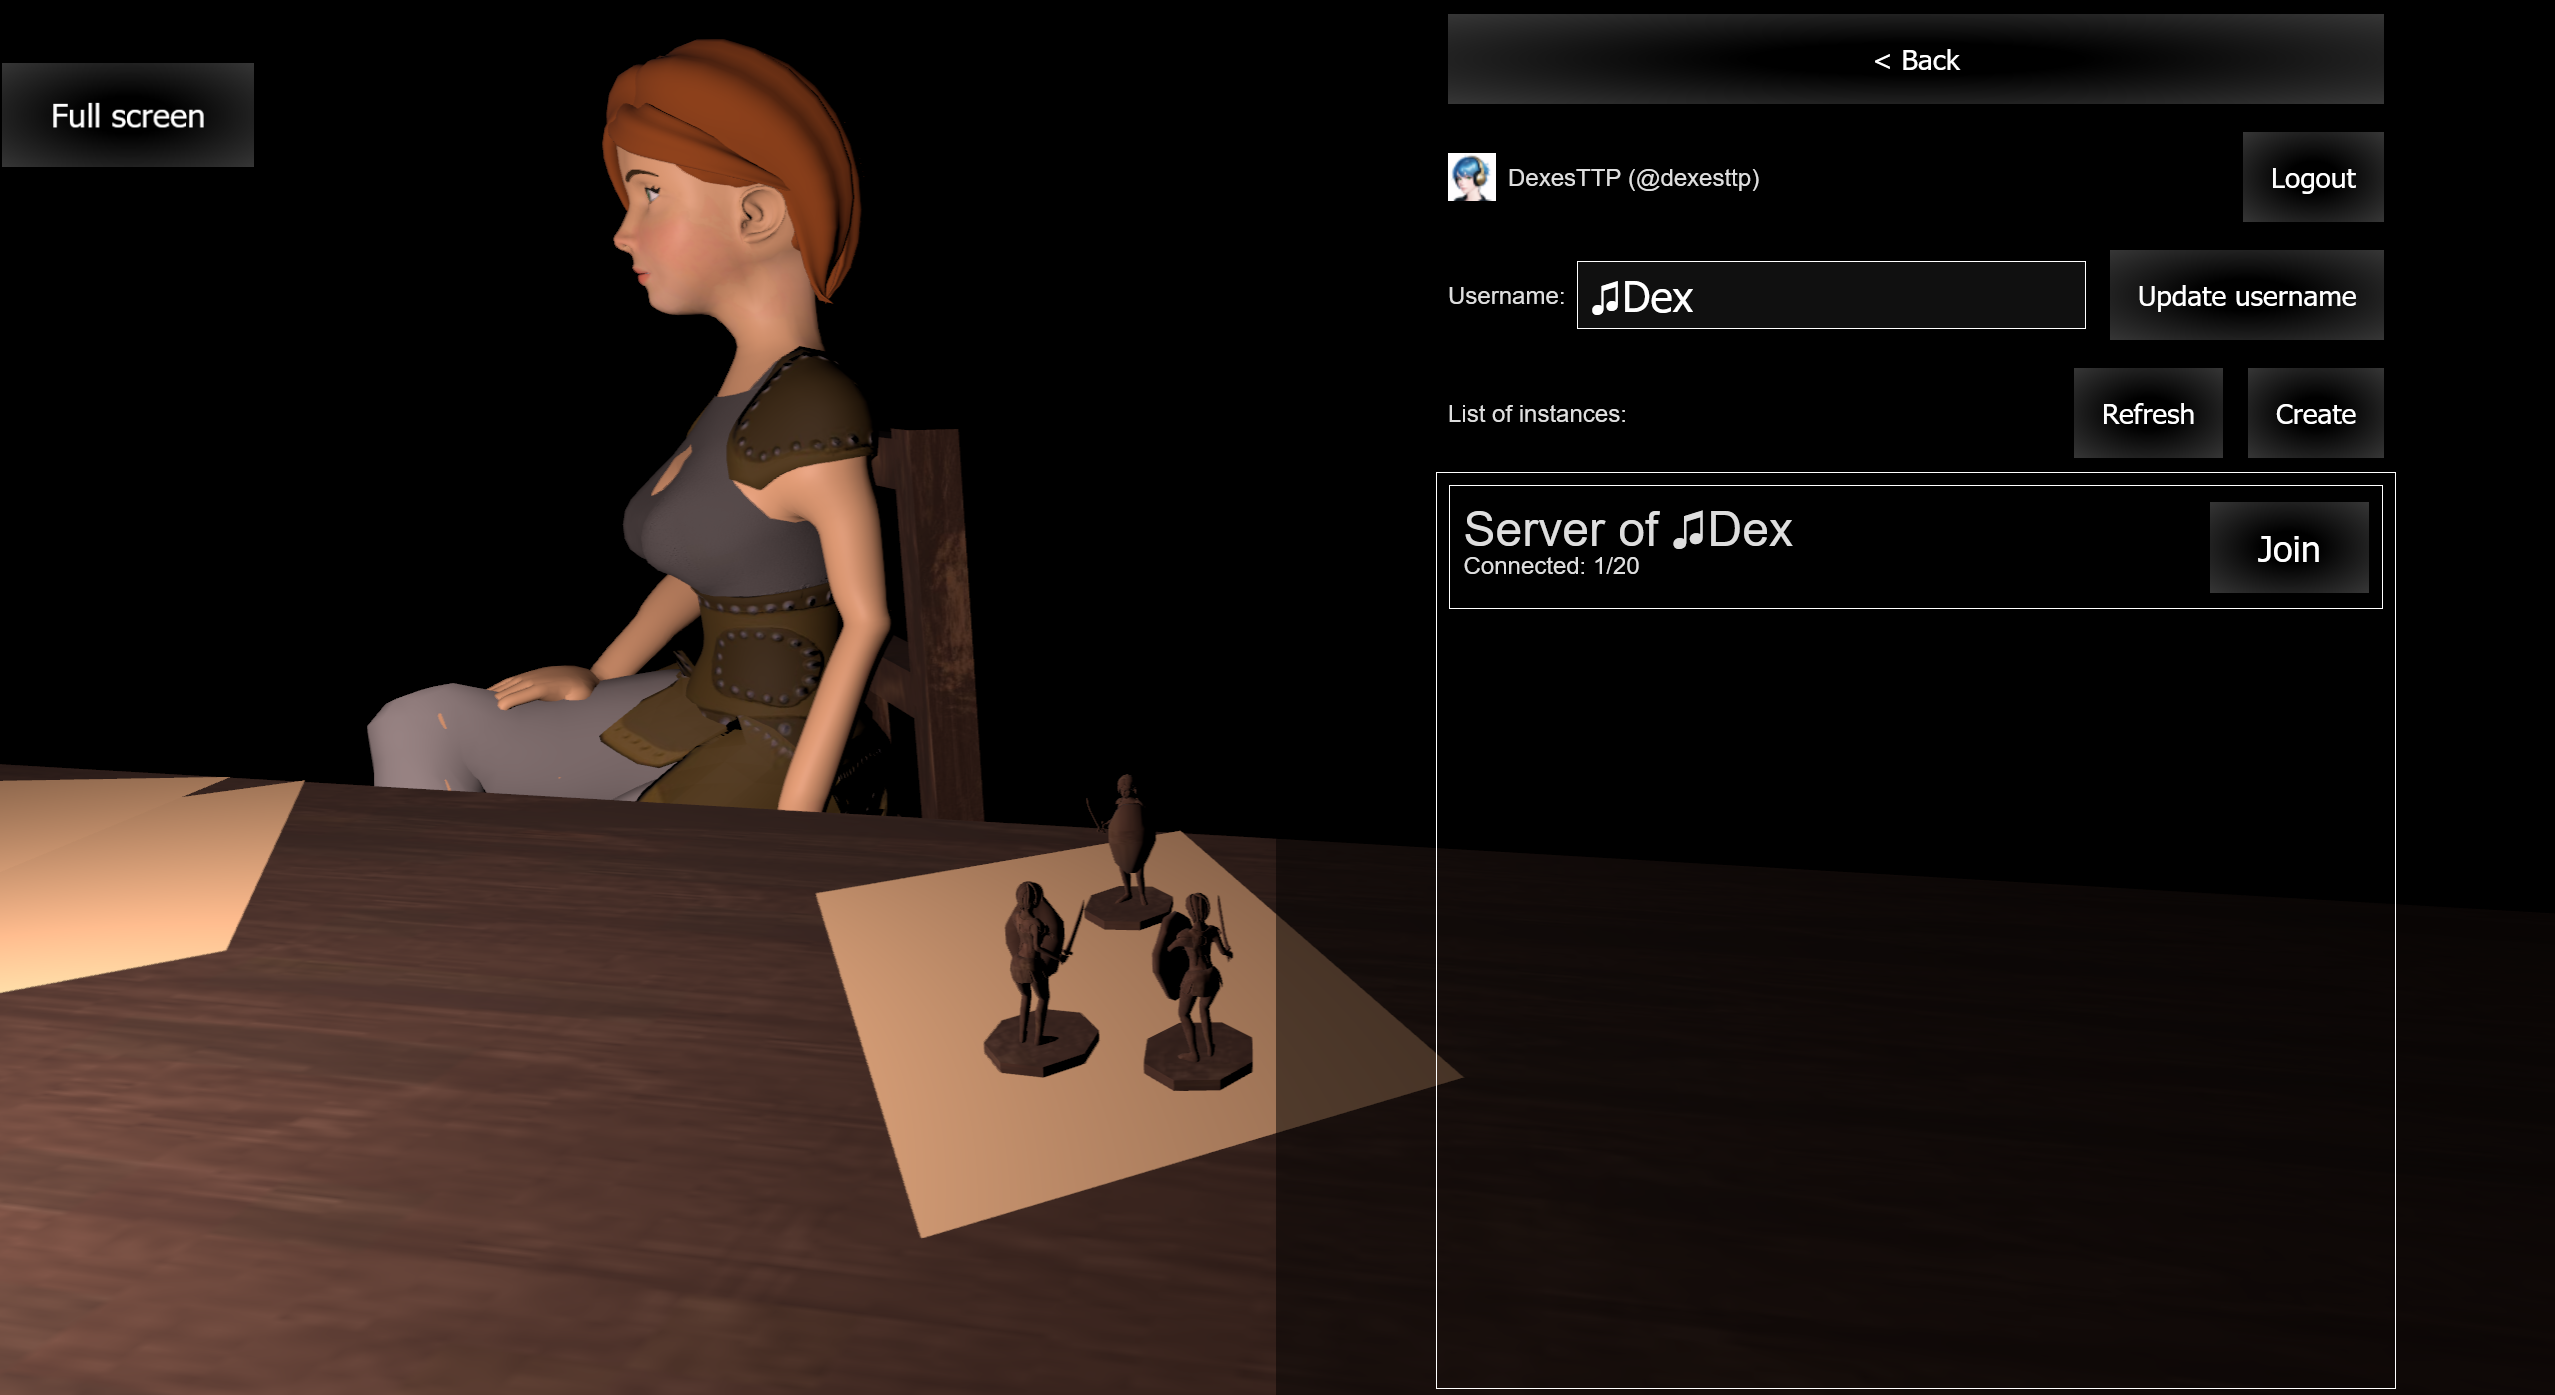
I ended up properly adding the "multiplayer" option and configuration to the main menu on May 26th.
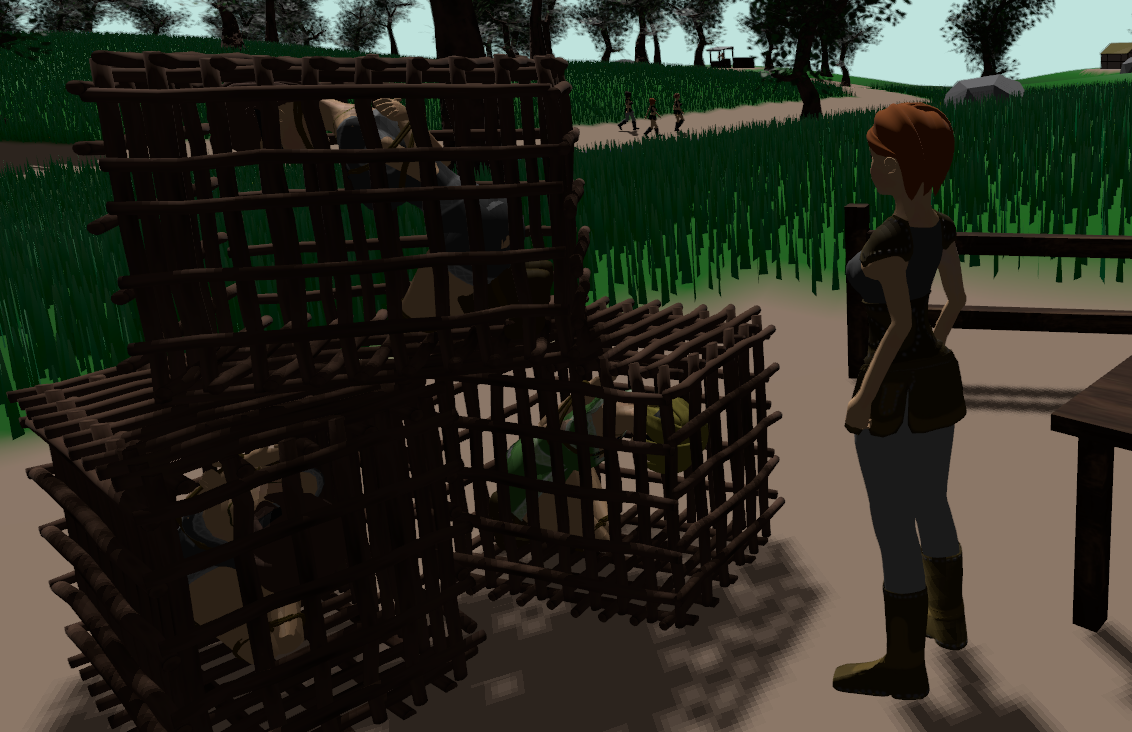
Finally, as a small break from engine code, I added some new 'small wooden cages' props as an alternative to the metal cages.